Solar lights are a popular and eco-friendly way to light up your outdoor space. They rely on rechargeable batteries to power up, but sometimes these batteries can wear out over time, leaving you with dimly lit or non-functional solar lights. Fortunately, replacing solar light batteries is a quick and easy process that anyone can do with just a few simple steps.
In this guide, we’ll walk you through the steps to replace solar light batteries and get your outdoor space shining brightly once again. Whether you’re a DIY enthusiast or a casual homeowner, you’ll be able to handle this task with ease and enjoy the benefits of bright, sustainable lighting all year round. So, let’s get started!
Gather Supplies
When you are looking to replace them, it is important to be prepared with all the necessary supplies. In addition to the new batteries, you will likely also need a screwdriver and a ladder.
Having all the items you need to complete the job can help ensure that the battery replacement goes quickly and smoothly.
Solar light
When the time comes to replace your solar light’s batteries, it’s important to have the right supplies. Knowing which type of battery and what tools you need to open up your solar light will help make replacing them easier. Here is a list of items you should have on hand before starting:
- Replacement batteries: Depending on the size, wattage, and functionality of your solar lights, different types and sizes of batteries are used; therefore, it is important to match up your instructions or existing battery size with the replacement battery size.
- Small screwdriver or another opening device: Most solar lights use a very small screwdriver for opening up the case and removing the old ones. Your instructions may advise otherwise so be sure to read them carefully beforehand.
- Insulated gloves (optional): Wearing insulated gloves may help make replacing your batteries safer by reducing any possible shock from coming in contact with electrical current.
- Safety glasses (optional): If you feel uncomfortable working with electricity, safety glasses are recommended as an extra precautionary tool.
Appropriate batteries
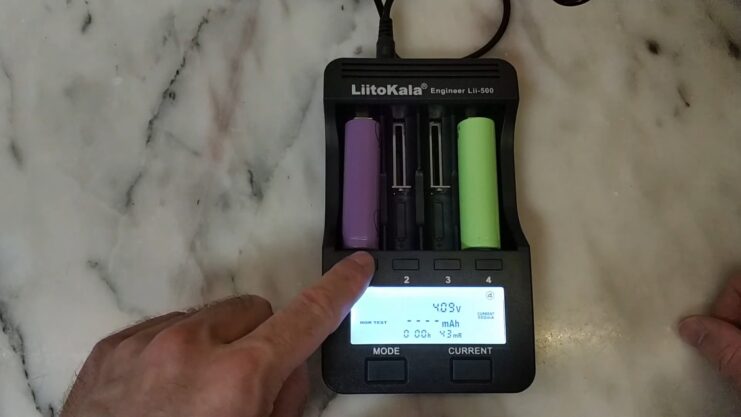
When selecting replacement batteries for a solar light system, it is important to ensure that the appropriate type of battery is chosen. Household alkaline cells tend to be too large in size and unsuited to the system, as they may even cause damage due to their shape and diameter. Instead, look for small nickel-cadmium (NiCd) or nickel metal hydride (NiMH) rechargeable batteries, which are specifically designed for solar light systems.
A number labeling around the terminal end of a battery may also provide insight into the type of battery it is. Ones with a “AA” size label are suitable for many types of solar lights. However, some systems may require rechargeable AAA batteries or possibly even C or D cells depending on the model and manufacturer.
Always check the owner’s manual for further information on the needs of your particular model before proceeding with battery replacement.
Remove Old Batteries
Replacing old solar light batteries can seem daunting, but it doesn’t have to be. In this guide, we will walk you through the steps of how to safely remove and replace the old ones in your solar lights.
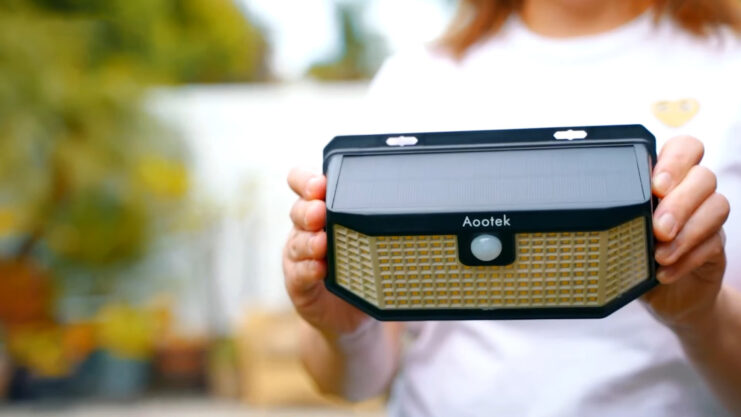
Remove the solar light panel
Removing the solar light panel from the light fixture is the essential first step in replacing old batteries in a solar light. This process will vary depending on the type of light you have, but for most of them, you’ll need to unscrew or remove any screws or clips that hold it to the wall or post. Once they are removed, you can lift off the panel gently.
For most models, it’s a fairly straightforward task — though a certain amount of finesse is necessary if your model has several wires attached to it. Take care not to pull too hard at any point as you may dislodge connections elsewhere in the system. If your solar light does not have screws and clips, be sure to consult your assembly instructions before attempting anything else.
Unscrew the back panel
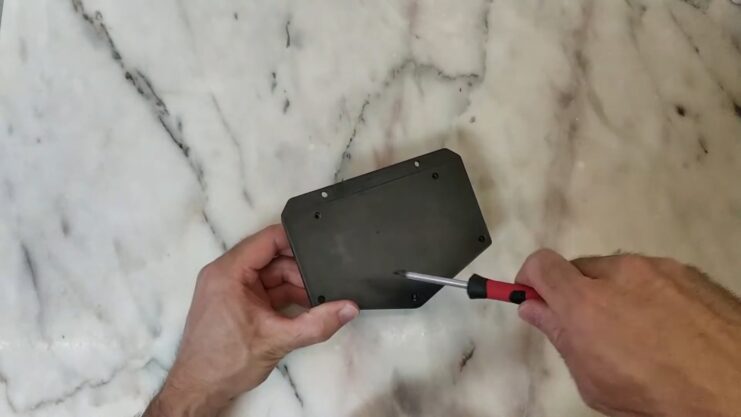
Removing them from a solar light is a safe and easy process that requires minimal steps. Many types are designed with user-friendly features, so there should be no guesswork involved. To begin, you will need to locate the solar light’s back panel, which may have screws or other fasteners holding it in place.
When removing the back panel, make sure to detach any screws or hardware from the light securely and set them aside in a safe place for later use. Once you have successfully unscrewed and detached the back panel, proceed to step two — locating the batteries if necessary.
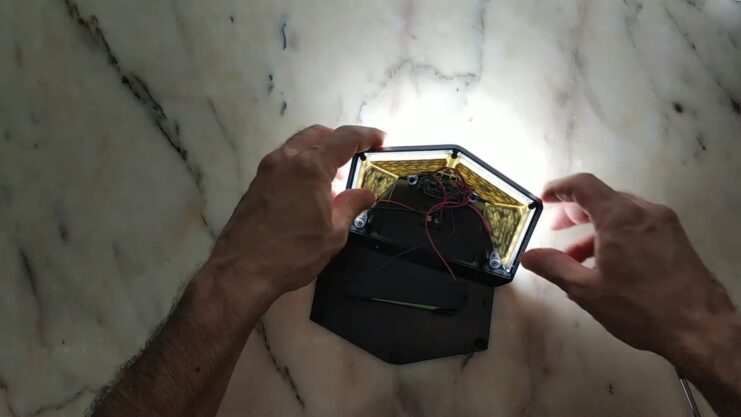
Depending on the type of solar light you are working with, you may need to remove any internal clips or latches holding down the battery compartment cover before gaining access to the batteries. When carefully unlatching these covers or clips, take special precaution not to damage any wires that may be connected to manual switches or control buttons inside.
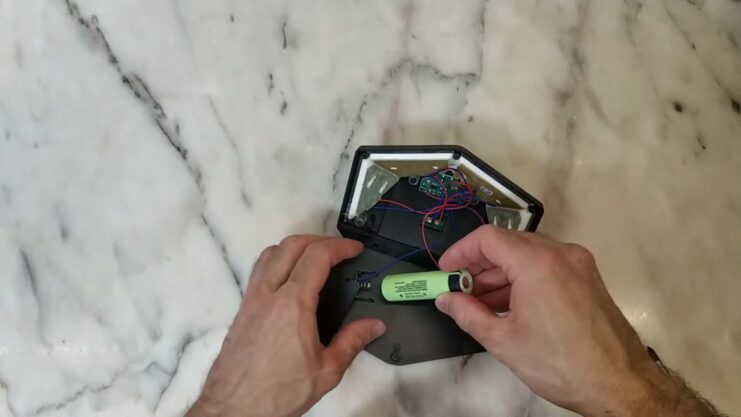
Remove the old batteries
Removing them can be a straightforward process with the right tools.
Before you begin, find a well-lit work area and turn off any power sources to avoid shock or damage to the solar lights. Place the light on a flat surface and remove any screws or replaceable parts if necessary.
Next, locate the battery door which is usually located on the bottom of the solar light. Slide your flathead screwdriver into one side of the door hinges and gently pull outward to open it.
Once you have opened the battery door, carefully remove all of your old batteries. To save time ensure that you are keeping track of each battery’s polarity (positive vs negative) and marking this information down as necessary.
When all of your old batteries have been removed from your solar lights, dispose of or recycle them according to local guidelines for proper and safe disposal options.
As you learn how to replace solar light batteries, you might also want to explore ways to extend their life; our article offers valuable information on extending the lifespan of solar battery and what to expect in terms of longevity.
Insert New Batteries
Replacing them is a relatively easy process that can help ensure that your outdoor lighting continues to work effectively and efficiently. Before beginning the battery replacement process, it is important to confirm what type of batteries are required for your specific device.
Once you have identified and purchased the needed ones, take the time to follow these steps to correctly insert the new batteries:
- Insert new batteries into the housing unit matching standard polarity, with positive (+) and negative (-) fitting into designated slots in their respective order, as indicated inside of the battery housing unit. If not indicated on the housing unit, please refer to the manufacturer’s instructions or product manual for specific guidelines on positive/negative orientation within the battery compartment.
- Ensure that each new battery has been properly aligned and fitted tightly against each other inside of housing chamber before replacing lid or lid screws back onto the device, being careful not to torque the lid/cover screw(s) too tightly as this may cause damage over time to components inside the unit or interfere with optimal operation of light sensor or timer module if applicable for your chosen system design & model; follow recommended torque specifications provided by manufacturers guide for proper installation of replaceable or re-charges parts in solar device per their instructions.
- Close the compartment lid/cover and test the operability of the system once again after ensuring optimization settings if applicable have been selected correctly per manufacturers reset guidelines; save changes & document maintenance records when necessary upon completion of the job successfully!
While replacing solar light batteries can help keep your garden lights shining brightly, it’s also important to maintain the solar panels themselves to ensure optimal performance.
Replace Back Panel
Replacing them is a fairly straightforward process that requires few tools and minimal technical skill. The next step is to replace the back panel of the solar light.
Let’s look into the simple steps needed to remove and replace the back panel.
Replace the back panel
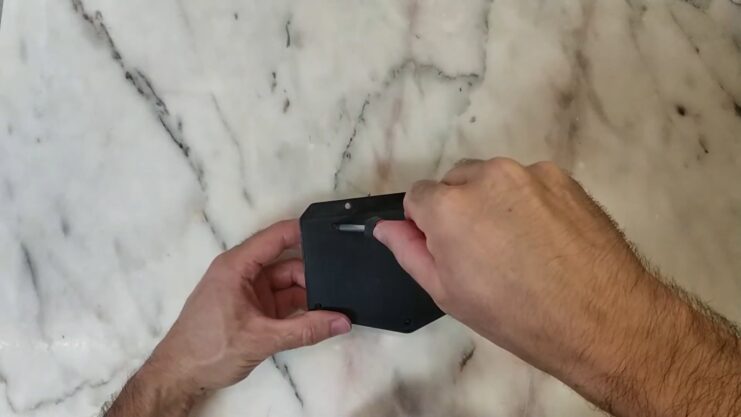
Replacing the back panel of a solar light is fairly straightforward — when done correctly, it should simply pop off. Carefully examine the back panel which will reveal either clips or screws that you need to remove in order to exchange the battery.
If your auto-on light has clips, gently press on each one until you can slide off the back panel. On early model lights, these are typically small black plastic clips; on later models, they may be green or brown and elastic in nature. If your lamp has screws instead of clips, slide a flathead screwdriver underneath the seam and unscrew them appropriately. Once all fasteners have been removed, you can safely lift off the back panel to change out your batteries.
It’s important not to try and force open the back panel as this may damage it or even break the waterproof seals preventing moisture from entering and damaging your solar lamp. When replacing it afterward, fit in all sides before pushing down firmly until you feel a ‘click’ that indicates that it’s properly secured and resealed. You will not have any issues with water getting inside if you take care throughout this process!
Secure the back panel with the screws
Once you have aligned the back panel with the solar light, you will need to secure it with screws. For this step, choose screws that are both long enough and sturdy enough so as not to strip when you tighten them. Take care not to over-tighten the screws. It may be helpful to use a level to help make sure the panel is perfectly flush against the solar light fixture before inserting and screwing in the screws.
Make sure that any exposed wires or negative terminals of batteries are insulated and safe from any other objects before securing the panel in place with screws. With all screws securely tightened, your new battery panel is now ready for use!
Test The Solar Light
Testing the solar light is the best way to ensure that your new batteries will fix the issue you are experiencing.
Place the solar light in direct sunlight
Placing the solar light in direct sunlight will ensure that it is getting the correct amount of charge. It is important to place the solar light on a flat, level surface and make sure that it is not blocked from the sun’s rays by any shrubbery, trees, or buildings.
Ensure the light is working properly
Before changing the battery in the solar light, ensure that it is indeed the battery that needs to be replaced by testing the device. Check the on/off switch to make sure that you actively turn it on, and see if any light comes through at all. If there is no light or flickering of any kind, it could be a sign of something other than just a simple drained battery.
Check the electrical wiring within it and make sure that they are not loose; if it seems tangled in any way, carefully untangle them to ensure proper connection. Finally, remove the existing batteries and test them in another solar device; if they do not produce light or flicker when tested against another source, one should go ahead and replace the batteries with new ones.
FAQs
1. How do I know which replacement batteries to buy for my solar lights?
Check the user manual or the manufacturer’s website for information on the specific type of battery your solar lights require.
2. How do I insert the new batteries into my solar lights?
Insert the batteries into the battery compartment with the correct orientation as indicated in the user manual or on the battery itself.
3. Can I use rechargeable AA or AAA batteries in my solar lights?
Yes, rechargeable AA or AAA batteries can be used in some of them, but be sure to check the user manual for the recommended battery type.
4. Do I need to charge the new batteries before using them in my solar lights?
No, they should be charged by the solar panels in the lights.
5. How do I test my solar lights after replacing the batteries?
Turn them on after replacing the batteries and check if they are functioning properly.
6. Can I recycle old solar light batteries?
Yes, many recycling centers accept them for recycling.
7. Can I use non-rechargeable alkaline batteries in my solar lights?
No, non-rechargeable alkaline batteries are not recommended for use.
8. Can I leave my solar lights on during the day while the batteries are charging?
Yes, they are designed to charge during the day and operate at night.
9. How do I know when the batteries in my solar lights are fully charged?
Some of them have a built-in indicator light that turns off when the batteries are fully charged. Others may take several days to fully charge, so check the user manual for guidance.
10. Can I use different brands of replacement batteries for my solar lights?
It is recommended to use the same brand and type of battery as the original batteries in them for optimal performance.
Conclusion
In conclusion, replacing the batteries in your solar lights is a simple and easy process that can help you keep your outdoor space bright and beautiful. By following these steps, you can ensure that your solar lights are working properly and providing the necessary illumination for your walkways, gardens, and outdoor areas.
Remember to always use the correct type of battery and handle them with care to avoid damage to the solar light or injury to yourself. With a little bit of effort, you can enjoy the benefits of solar lighting and well-lit outdoor space for years to come. So, don’t let dim solar lights keep you in the dark – take action and replace those batteries today!